
Method to knock in your New Cricket Bat
Share
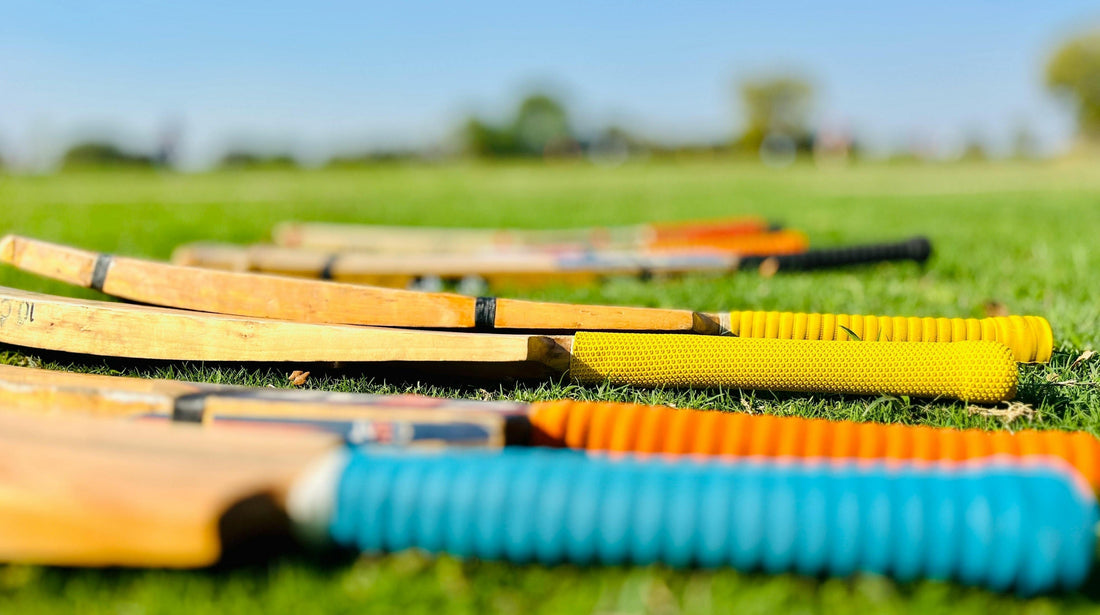
If you've just purchased a brand-new cricket bat, congratulations! But before you take it out onto the pitch, there's one crucial thing you need to do: knock it in.
Proper knocking not only improves the bat’s performance but also significantly extends its life. This guide walks you through everything you need to know to knock in your bat the right way.
🔧 What is Knocking In?
Knocking in is the process of preparing the blade of a cricket bat by compressing its fibers, especially around the edges and toe. This reduces the chances of cracking and helps the bat perform better when striking a cricket ball.
Even if your bat is "pre-pressed" or “ready to play,” additional knocking is still recommended.
🛠️ What You’ll Need
- A quality wooden bat mallet or an old cricket ball in a sock
- Raw linseed oil (if not already oiled)
- Soft cloth or paper towel
- Patience and care!
🧴 Step 1: Apply Linseed Oil (If Required)
- Apply a light coat of raw linseed oil using a cloth. Focus on the face, edges, and toe (not the back or splice).
- Leave it horizontal in a dry place for 24 hours to let the oil soak in.
- Repeat with a second thin coat if your bat looks dry.
⚠️ Tip: Don’t over-oil! Too much oil can make the bat heavy or cause damage.
🔨 Step 2: Start Gentle Knocking
- Use your bat mallet to tap gently around the edges and toe, not the splice or handle.
- Work across the face of the bat, starting lightly and gradually increasing the force over 4–6 hours total (done in multiple sessions).
- Focus on rounding the edges by hitting at a slight angle, not directly on the edge.
- Avoid hitting the back of the bat or using excessive force early on.
🏐 Step 3: Use an Old Cricket Ball
- After 4–6 hours of knocking, gently hit the bat with an old leather ball to simulate real play.
- Check for seam marks. If they appear deeply, go back to knocking with the mallet.
- Repeat for another 1–2 hours as needed.
✅ Step 4: Test and Play
- Take the bat to nets with older balls and play defensively to test its response.
- Avoid hard-hitting or new balls until the bat feels ready and shows no seam dents.
🧠 Pro Tips
- Don’t skip knocking, even for “ready-to-play” bats — it makes a big difference.
- Avoid water or moisture exposure.
- Store in a cool, dry place when not in use.
🛍️ Need a Knocking Mallet or Oil?
We stock high-quality bat mallets and bat care accessories in our Accessories Collection. Check it out and give your bat the preparation it deserves.